There are various benefits of Building Information Modeling (BIM); in an MEP department, the majority of the projects are modeled in Revit. Often, other project trades work with Architects who are not designing a building in 3D; in those cases, 2D floor plans are under played, and an appropriate offset is set for each level in Revit.
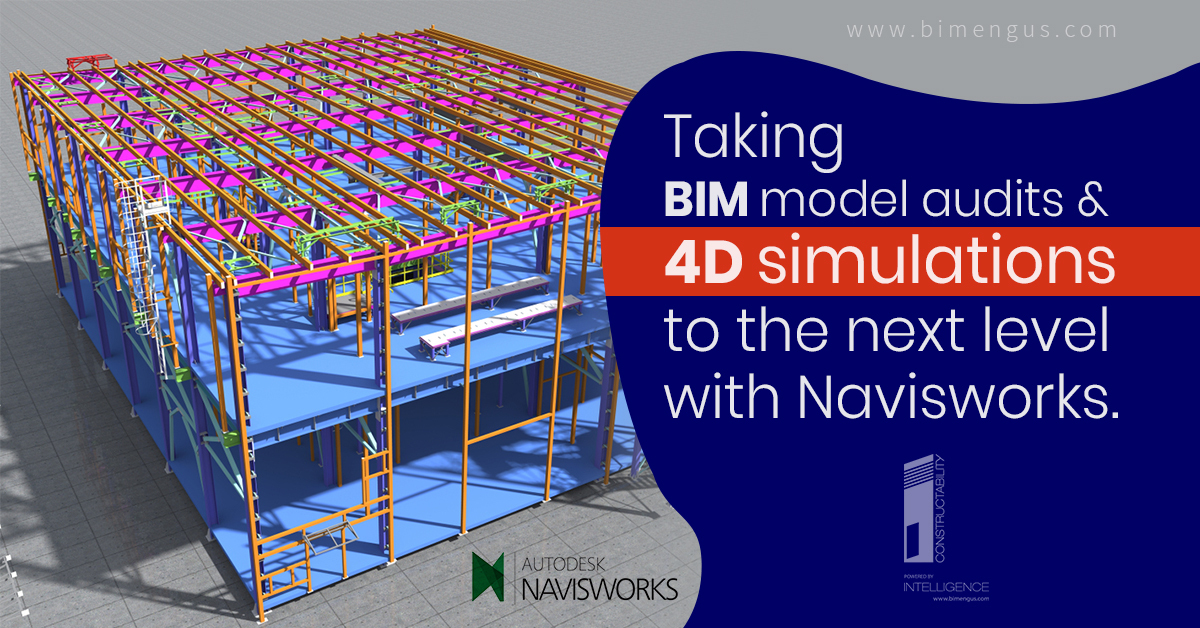
Then, MEP systems can be built in 3D. There are various advantages of this workflow, the most impactful being visualization that comes with modeling in 3D. To summarize, Autodesk Revit delivers a myriad of tools that allow visualizing structure, ductwork, walls, piping, etc. from different user perspectives. Revit can also be leveraged to gain a more realistic view for presentation purposes. While all of these tools and features are useful, they are slow in the case of Revit. This is where Navisworks can help save time and money through quick renders, 4D schedules, clash-detection, and more.
Navisworks helps designers show 3D models through reduced constraints & systems; this is what slows down Revit. For example, one can export a view from Revit, to Navisworks, and the result is a visual of every 3D object, minus the large database of parameters and properties that come along with these objects. Not all, but some of that information is taken by Navisworks, which includes object names, classification (door, duct, window, etc.), and the level of detail of development they are modeled on.
Navisworks retain material properties for appearance and other information like data for constraints, schedules, etc. is cut out. The result is a 3D model of the building that can be easily and quickly manipulated for visual goals. Once a 3D model is exported to Navisworks, it is possible to any building component, view its modeling details, change the color, transparency, etc.
Navisworks uses the selection tree to change the classification of objects at once. For example, designers or modelers can hide an entire floor, or the brightness of the entire structure can be altered. Aside from making images pretty, this is particularly applicable for complex construction where coordination is critical, and it provides an excellent check for designers and contractors.
Navisworks Manage includes another tool called “Clash Detective” that identifies collisions in 3D geometry within the model. Due to the simplicity at which one can visualize a model in Navisworks helps identify quick collisions. With both programs running in unison, designers can make modifications to a Revit model as part of the quality control process.

Navisworks enables users to select specific objects to look for clashes, for example, structural columns and ducts. Designers and modelers can even identify objects and set tolerances that help in setting certain clearances for equipment. It also helps ensure adequate space is kept for accessibility. By utilizing these visual aids through Navisworks, clients can improve design to save on cost and money with improved coordination.
It is important to keep in mind that “A fully coordinated model does not mean clash-free”, a fully coordinated design indicates clashes were detected and reviewed, but not necessarily resolved. For example, a valid penetration that is detected and reviewed is not resolved as a few holes can be drilled onsite for pipes to go through.
Navisworks Simulate and Navisworks Manage are two versions of Navisworks that deliver advanced tools for simulation, comprehensive project review for analysis, coordination, and communication. The file types used in Navisworks can be classified as –
NWC – cache file that contains all the geometry and setup related information during an export
the file is smaller than the original file
NWF – also called the Navisworks File Set, it holds all the NWC files that are appended to the project
can be accessed in Navisworks Manage
NWD – also called the Navisworks Document, it holds the complete geometry and other information added in Navisworks like Comments, Timeliner Simulation, saved Viewpoints, and Search Sets.
Outcomes of a poor clash strategy.
Acting in a planned and defined manner is key, and it applies to clash detection as well. It is possible to clash detect everything, or the entire model against another, however, it is an ineffective approach if the end goal is a well-coordinated model.
- Results in thousands of clashes
- Loss of model confidence
- Wasted time and effort in identifying phantom clashe
Clash detection requires strategies that include questions like- what are we trying to achieve? Isolating clashes that need resolution, and eliminating phantom clashes.
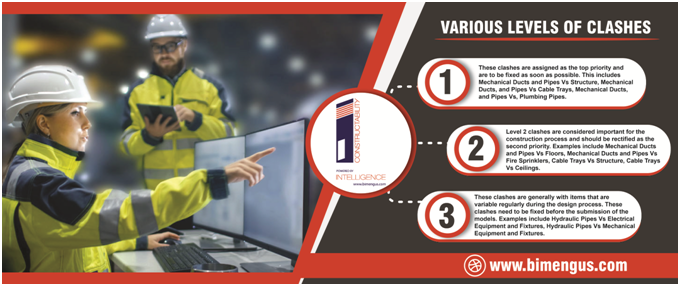
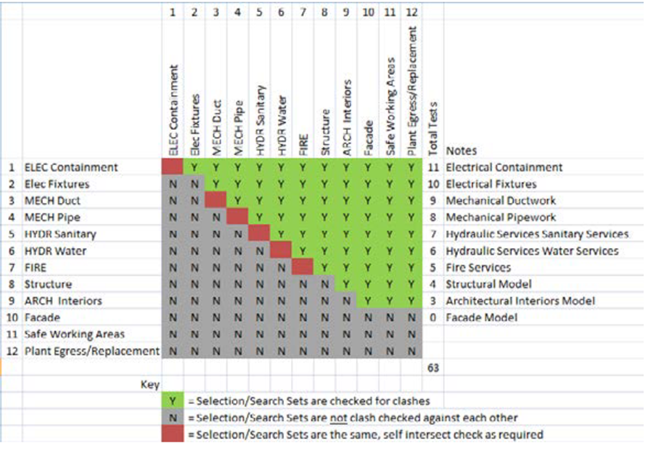
Clash Detection Matrix.
A Clash Matrix is an efficient practice to plan your clash tests and create what is commonly termed as a Clash Matrix that includes a combination of trades and priorities based on a construction deliverable or schedule. The chronology of clash tests is crucial in reducing changes between model updates.
Viewpoints.
Viewpoints are an important feature in Navisworks as they allow users to save and recall different settings related to model views and settings for navigation. It also gives users the option to save item visibility and appearance overrides within viewpoints.
Navigating viewpoints helps isolate the clash items making it easier to focus on them. It also helps adjust the viewing context, and visually identify clashes in the model, and transition between various clashes. Viewpoints of the entire project or select trades help document new clashes between trades.
For example, when documenting an issue between Mechanical and Structure, users can click on saved viewpoints, and then click back on the issue in the Clash Detective. If you’ve navigated away from the clash, and cannot locate it in the scene view, then you can reset the viewpoint to focus on the clash viewpoint again.
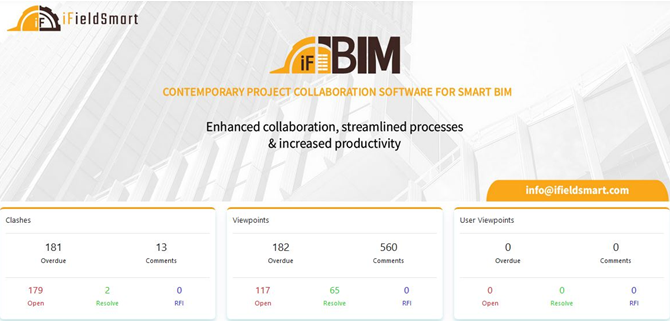
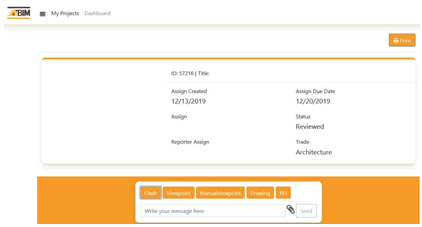
Project collaboration software like iFBIM enables project stakeholders to assign clashes with a digital signature and leverage a detailed clash management log with the option to download it.

Turning Navisworks Clashes to Viewpoints
Steps to create Clash Viewpoints
- Use clash detective in Navisworks
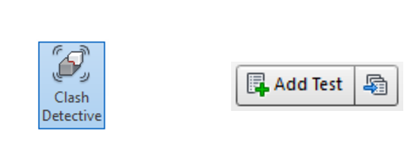
- Using the Add Test Button to add a test scenario
- In the select tab, choose Selection A and Selection B to run clash detection, and run the test
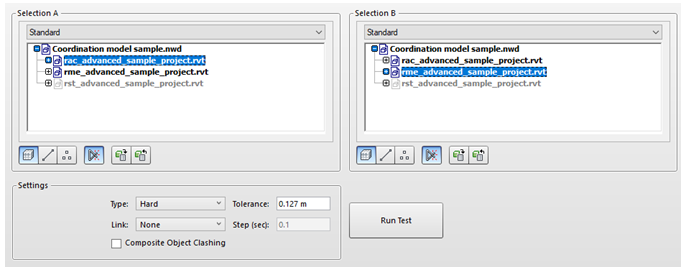
- Running the test helps you view your clashes
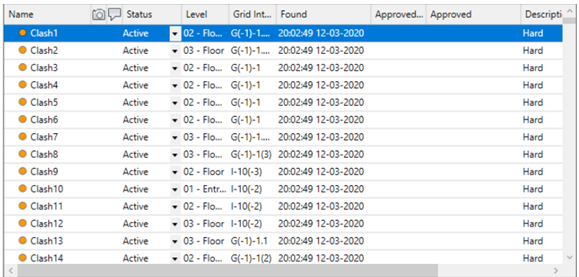
- Users can save viewpoints manually or automatically
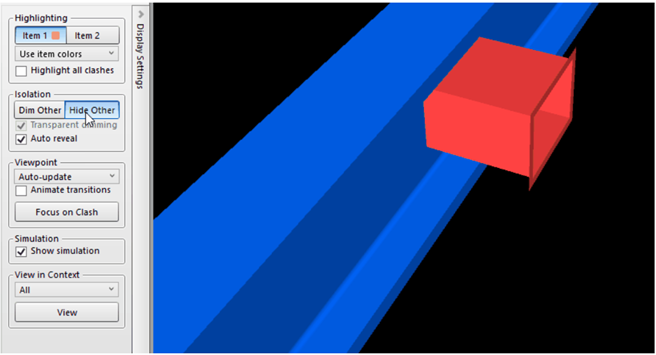
- If you’re manually optimizing your clash viewpoints, it is important to navigate to a viewing angle that can make sense in VR. Avoid creating viewpoints that are obstructed by dimmed or hidden geometry. It is a good practice to set the toggle on for “Hide Other” to view the obstructed viewpoint
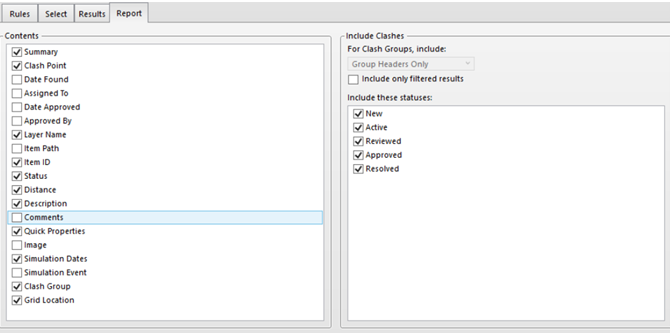
Write a report as a viewpoint that can be sent to the client
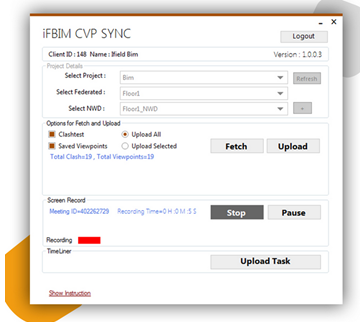
Use iFBIM CVP-sync to export and import clashes and viewpoint data from the iFBIM platform, and record clash clips for future review.
The Clash View Point Manager helps designers and modelers organize, extend, and speed up the clash test process, and leverage various tools viz. Find and Assign to Trade, Grouping, Rename Clashes & Viewpoints, Group similar trade clashes, etc.
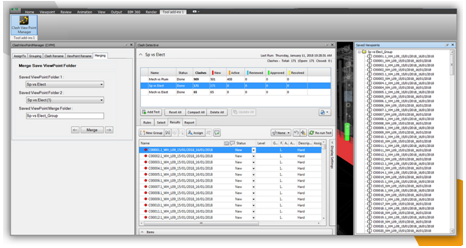
AEC firms and teams can leverage significant time reduction to generate a cost estimate, sync 50 clashes/min, and save on 75% workforce in the preparation of building plans with iFBIM.
Conclusion
Here at iFieldSmart Technologies, we believe in being highly visual. We are also at the forefront of BIM adoption through technology automation to leverage high efficiency. By using and integrating visual technology such as Navisworks and iFBIM, we’re able to improve client designs for visual purposes through quick and easy manipulation, identification, auditing, analysis, and more.
Contact Us: – 703-994-4242
Visit us: – https://www.bimengus.com
![]()